After setting an Unraid system in my basement, it made sense to store backups from the various computers we have around the house. I looked at a few options, but the free Urbackup seemed a good bet.
Unraid Server Setup
Available via the Community Applications repository of Unraid, installing Unraid is easy.
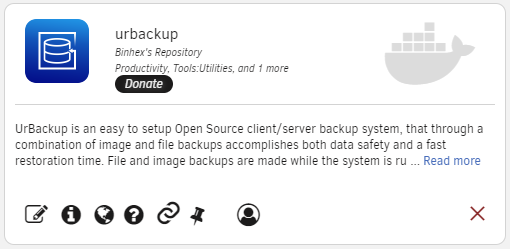
After install, you’ll want to create a separate share on your Unraid array to hold your backups.
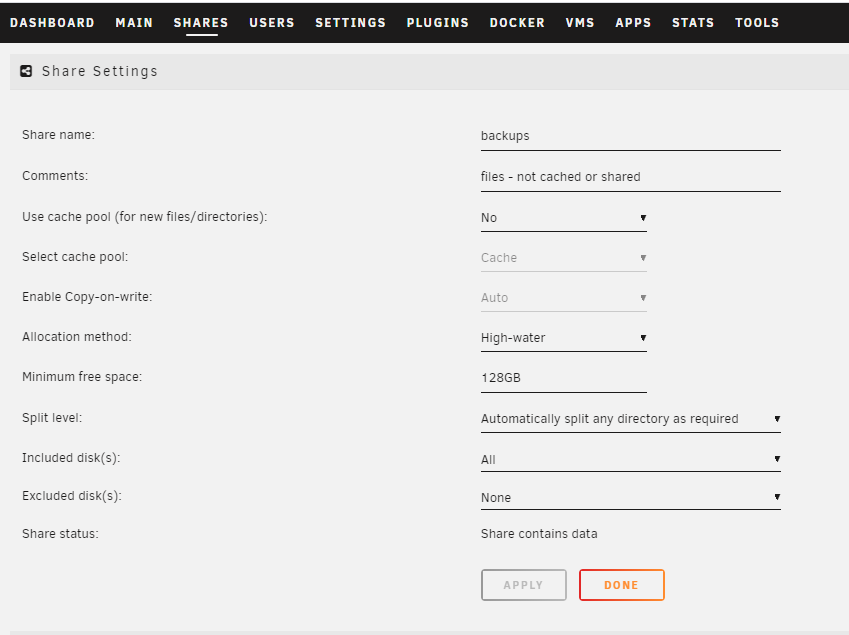
You don’t need to share this backups share via NFS or SMB. Urbackup will make it’s own TCP connection from your client computers to the Unraid server for data transfer. Doing so would open you to risk of ransonware which loves to encrypt a local machne and any network shares it can reach.
The Docker container just needs host networking with a host path set to your backups share:

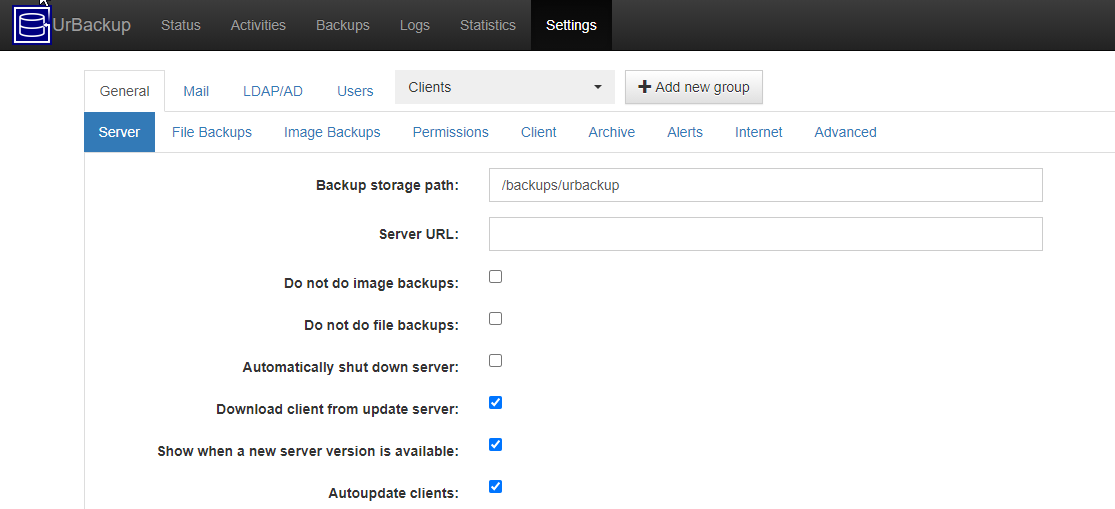
Then you’ll have access to the Unraid WebUI:

There you can set the backups path withn the container:
Next step is to install Urbackup client software on systems around the house.
Windows Client Setup
Install on Windows is straight-forward and I went with the default settings, just setting a computer name.
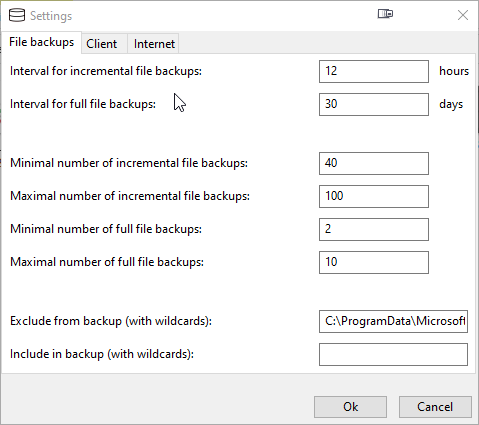
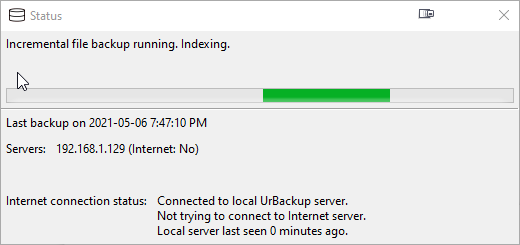
Then the backups run in the background, a status window on each Windows system can be viewed if you want.
Macintosh Client Setup
There is a beta-client for Macintosh systems. Unfortunately, it only seems to backup user-by-user, rather than whole system on Windows. So, I’m not really using Urbackup on little Mac Mini.
Conclusion
Initially, I attempted both image and file backups, but I found that image backups often failed. So, I’ve simply gone with file backups. Overall, it’s been quite reliable so far.
More in this series…
- Unraid Server Setup - media and storage
- Unraid GPU Passthrough - failed attempt
- Unraid Chia - plotting and farming
- Unraid Recovery - recovering from an unbootable flash drive