With microk8s installed and upgraded, I was ready to setup Kubeflow. Built upon Kubernetes, Kubeflow provides a consistent platform for ML workflows.
Kubeflow Install
Following the install guides from both Ubuntu and Kubeflow, I tried to enable Kubeflow with a single command: microk8s enable kubeflow. Unfortunately, due to a current defect, one needs to switch to a candidate build instead:
sudo snap install microk8s --classic --channel=latest/candidate
KUBEFLOW_DEBUG=true microk8s enable kubeflow
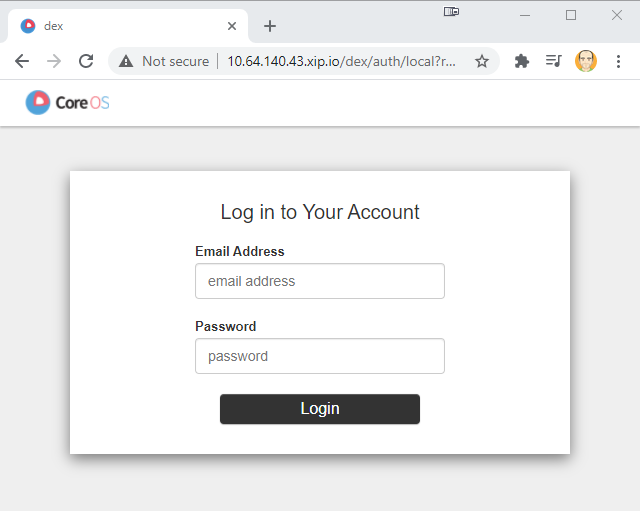
The end of the enable step outputted a link leading to the Kubeflow dashboard. I did have to put the xip.io hostname into the hosts file of my laptop to browse to the site however:
Unfortunately, using a hostname on my local network didn’t work with the default IP range used by MetalLB within Microk8s.
SSD FTW!
As I am using an 10-year old workstation to play around with microk8s, my initial attempts to enable kubeflow all timed out with various errors. Turned out that despite the workstation having 48 GB RAM and 24 CPU cores, it was stuck with only an old 2 TB hard disk @ 7200 RPM.
Basically, k8s was completely hamstrung by such a slow disk. Adding a 40 $CDN Kingston SSD 240 GB drive to use as the root partition on a clean Ubuntu 20.04 install greatly increased system performance and allowed kubeflow to be successfully enabled.
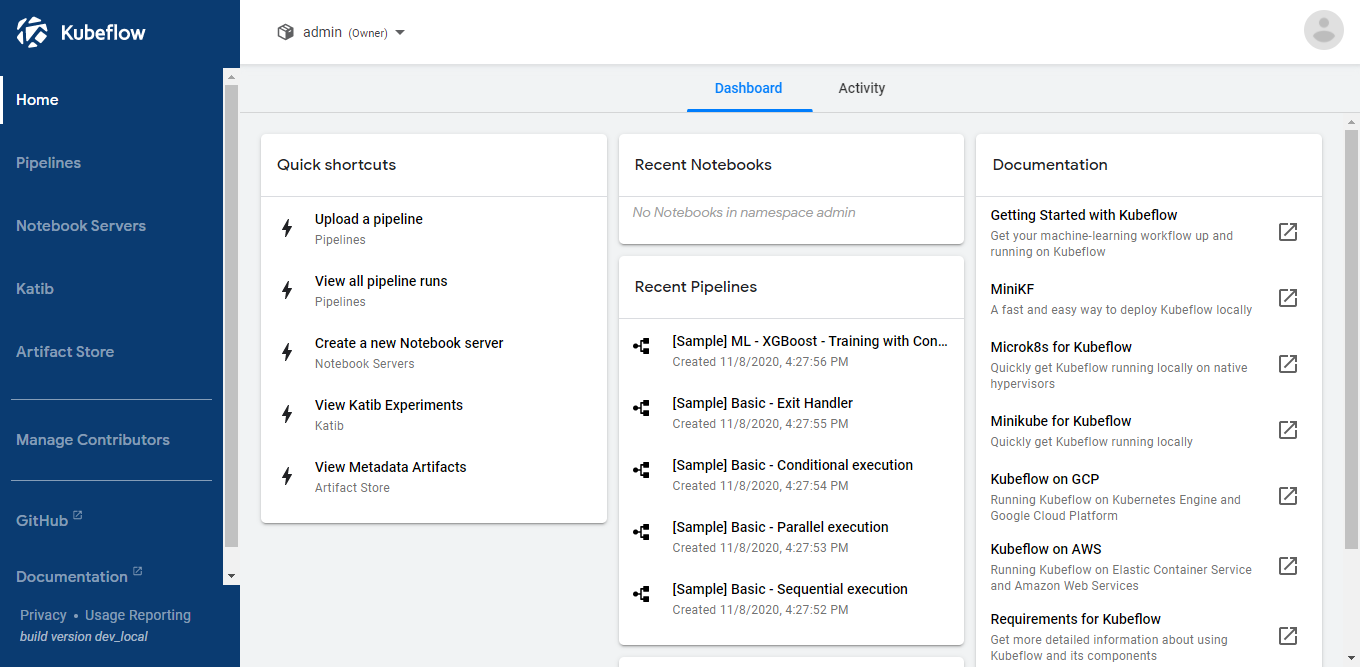
Kubeflow Dashboard
On logging in, the Kubeflow dashboard has a number of examples to get started with:
Up next is a first training session with Kubeflow…
More in this series…
- microk8s on ubuntu - Single instance cluster
- microk8s upgraded - Upgrading to k8s 1.19
- MNIST notebook - Using Jupyter notebooks on Kubeflow
- kubeflow pipelines - Deploying pipelines on Kubeflow