This is a follow-on post to my earlier orchestration overview. I’ll be exploring container management in a Kubernetes cluster running on Container Linux (aka CoreOS) within AWS.
Creating a Kubernetes Cluster
While there a lot of different ways to launch a cluster, I decided to get my hands dirty with this guide from CoreOS. As all the computing horsepower will be in the cloud, I was using an old laptop running Ubuntu 16.04 to build and control the cluster with these local tools:
# First install kube-aws from CoreOS
curl -O -k -L https://github.com/coreos/kube-aws/releases/download/v0.9.4-rc.2/kube-aws-linux-amd64.tar.gz
tar -xzvf kube-aws-linux-amd64.tar.gz && sudo mv linux-amd64/kube-aws
rmdir linux-amd64 && rm -f kube-aws-linux-amd64.tar.gz https://coreos.com/kubernetes/docs/latest/kubernetes-on-aws.html#download-kube-aws
# Then latest kubectl from Google
sudo curl -L -o /usr/local/bin/kubectl https://storage.googleapis.com/kubernetes-release/release/$(curl -s https://storage.googleapis.com/kubernetes-release/release/stable.txt)/bin/linux/amd64/kubectl

# Finally, AWS CLI from Amazon
sudo pip install --upgrade awscli
aws configure
Setup within AWS Console involved:
- Choosing an AWS region. I’m using the new ca-central-1 region.
- Creating an EC2 keypair that will be used for later access to the launched instances.
- Creating a KMS encryption key for managing the TLS access to the cluster.
- Preparing a S3 bucket to hold the kube-aws configuration files. I named it ‘kube-adm’.
Initializing the Cluster
Following the tutorial, I initialized the CloudFormation templates with this (IDs munged):
kube-aws init --cluster-name=my-kube --external-dns-name=kube.guydavis.ca --region=ca-central-1 --availability-zone=ca-central-1a --key-name=ca-central-kube --kms-key-arn="arn:aws:kms:ca-central-1:333123456789:key/f524137d-xx53-434a-8b2c-4665d7e9zga024a"
Launching the Cluster
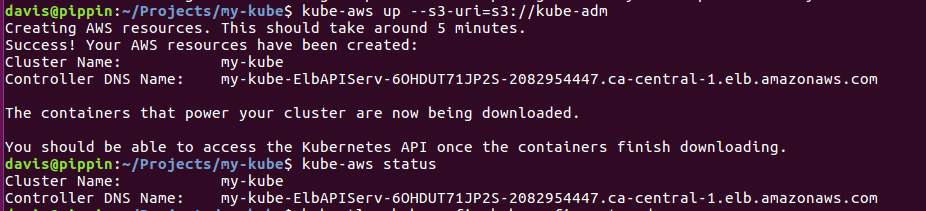
When ready, the basic cluster of 3 t2.medium nodes can be created with:
kube-aws up --s3-uri=s3://kube-adm
This will result in 3 new instances appearing in your AWS Console:

Be sure to set the public IP of the controller node to the DNS name you set earlier. I did this in the admin console of my DNS provider:

Using the Cluster
Next step in the tutorial was to list the avialble nodes:
kubectl --kubeconfig=kubeconfig get nodes
and follow the intro tutorials for Kubernetes.
Growing the Cluster
I didn’t try this step, but it is discussed in the main tutorial.
Destroying the Cluster
kube-aws node-pools destroy
kube-aws destroy
Summary
While this kube-aws tool from CoreOS to build AWS CloudFormation scripts for Kubernetes cluster setup was nice, it’s not clear to me why one would want to run their own Kubernetes cluster, other than for interest-sake (as above).
With the availability of fully-hosted Kubernetes clusters from Google Cloud, Microsoft Azure, and AWS Cloud, it seems much easier to side-step all this setup and just use a pre-configured cluster. In fact, that’s what I’ll be trying next…